How to Sharpen a Hand Plane Blade for Mirror-Finish Shavings
By James C. Miller • 32 Years at the Bench • Antique Furniture Conservator
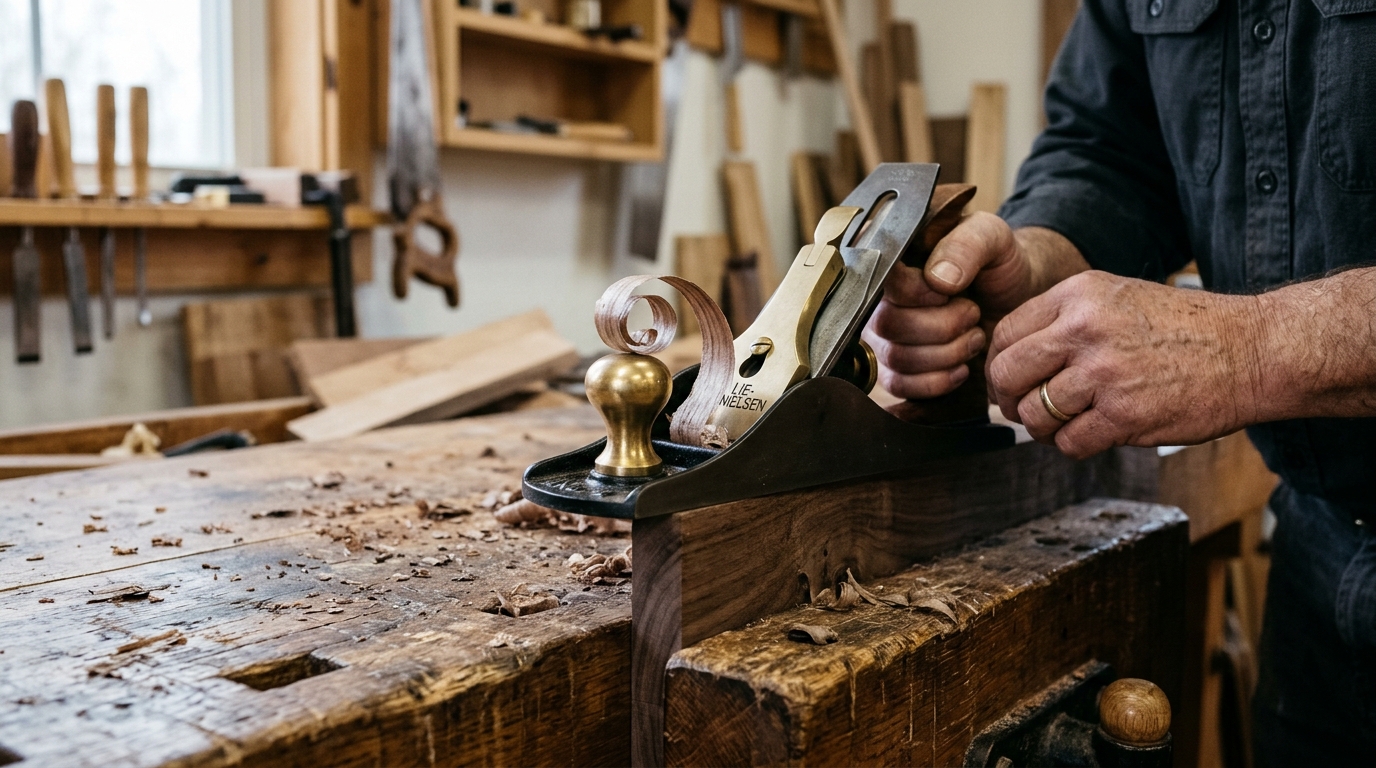
There is an unspoken agony known to every craftsman: you spend days cutting crisp mortise-and-tenon joinery, only to watch your smoothing plane tear a catastrophic trench across figured walnut because the cutting edge was microscopic tenths of a degree out of alignment.
Step 1: The Non-Negotiable Flat Back
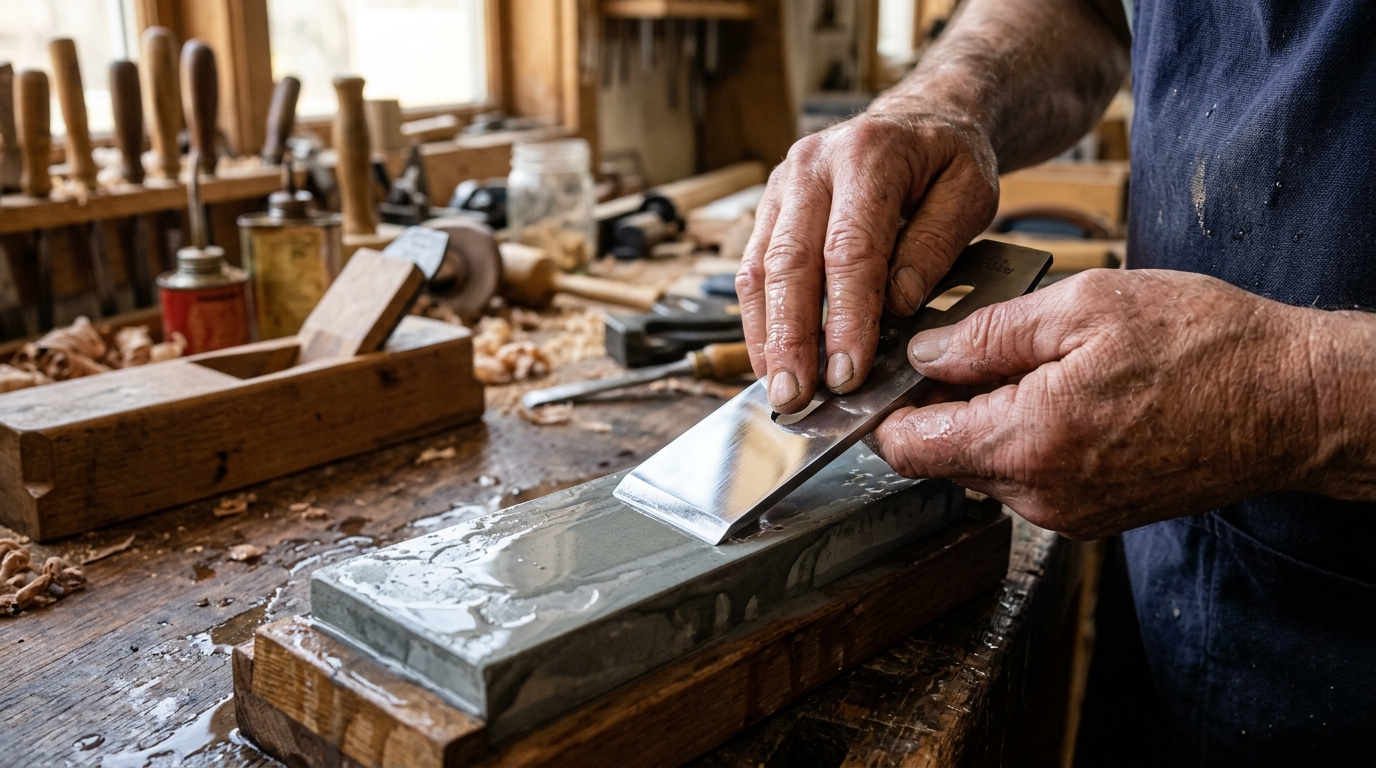
Before ever touching the bevel, the back 1/2 inch of the iron must be polished to optical flatness. If the back contains hollows or coarse manufacturing grind marks, no amount of work on the bevel will yield a keen cutting junction.
Step 2: Calibrating the Micro-Bevel
Grinding the entire primary bevel on fine waterstones wastes steel and exhausts your honing session. The traditional solution is establishing a 25° primary bevel on a grinder, followed by a secondary 30° micro-bevel honed in seconds on your 1,000, 4,000, and 8,000 grit stones.
Chisel & Plane Iron Bevel Angle Calculator
Instant calibration based on timber Janka hardness and plane configuration.
Step 3: Stropping and Wire-Edge Removal
Draw the polished bevel lightly across a horsebutt leather strop charged with chromium oxide compound. Two strokes on the bevel and one flat swipe on the back will remove the microscopic wire edge, leaving an edge that glides effortlessly through end-grain white oak.